Table of Contents
READ ME!!!
This tutorial has been replaced by a much better solar-optimized charger that we made specifically for making Solar Mintyboosts! Please check out the new Solar Charger product which will work a lot better. We're only keeping this tutorial here for historical reference
Introduction
This is a quicky tutorial, showing how you can quickly modify a 5 or 6V solar panel to charge up a lithium polymer (lipo) battery. The battery can then be used to power any electronics project - you can even charge at the same time
You'll need:
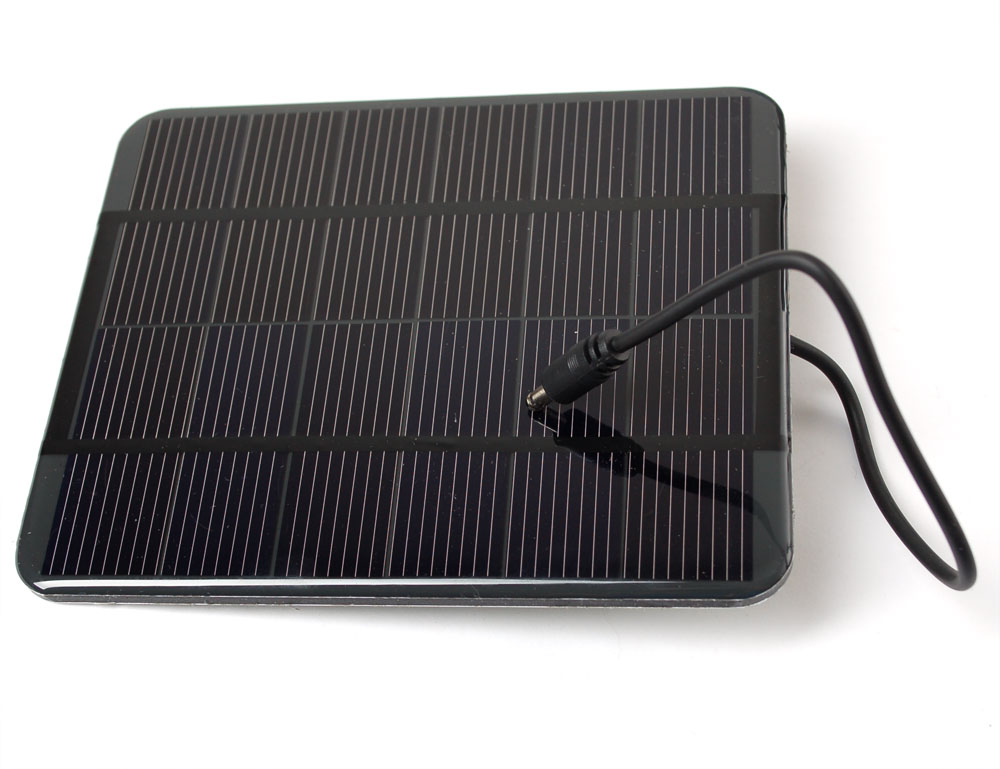
 | A solar panel! 0.5W is minimum, no maximum but you'll want 5 or 6V output. We suggest Voltaic Systems' panels, they're well made and actually output what they are rated for. Most inexpensive panels say they are 1W but are really about 30% less so just be aware of that |
|
|---|---|---|
 | A lithium-polymer battery charger. You should pick one specifically designed to charge lithium batteries - not a NiMH, NiCad or lead acid charger! Check that it is designed for a single cell and can take up to 6V inputs. | |
 | Lithium-polymer battery. The larger the battery the longer it will take to charge but then you have a bigger store of power. We only recommend lithium batteries that have protection cells, not 'bare cells' | |
In general, you can calculate the time it takes to charge a battery thus:
(Battery milliAmphour capacity) / minimum (solar panel current output, charger maximum output) * 1.20 (inefficiencies) = hours
The solar panel current output will be less than the 'short circuit current' which is what is usually quoted. You can get it by dividing the wattage by the voltage (2W/6V = 330mA) but again, that assumes that the Wattage is correct and for some cheaper panels, they are lower than what the manufacturer tells you
For example, a 1200mAh battery, charged by a 300mA current output takes → 1200 / 300 * 1.2 = about 5 hours
Of course, this assumes you are in bright direct sunlight at all times. In reality, the panel may not be pointing right at the sun and it might be a little cloudy. The charger will automatically 'dial down' the charge rate to match what the panel can give. Watch the "Power Good" and "Charging" LEDs on the charger board to see how you're doing. They'll get dimmer and brighter depending on how much light you're giving them. When its done, the "Done" LED will be lit!
The output of the battery will range from 3.7V to 4.2V (when fully charged) - which makes them great for projects that run on 3.3v, you just need a low-dropout 3.3v regulator that have 400mV of drop-out or less such as the MCP1700-330. For projects that require 5V, you will have to use a 5V DC/DC boost converter
Rewiring the panel
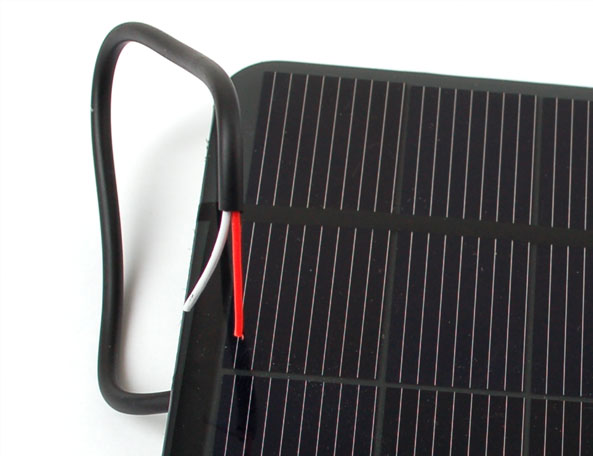
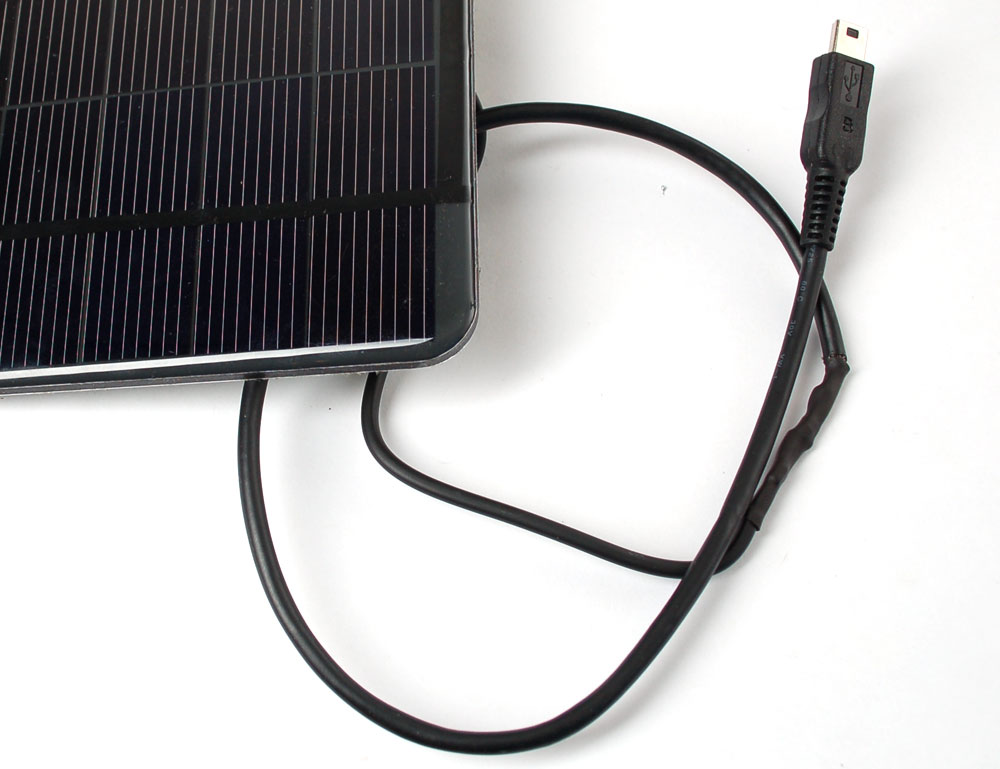
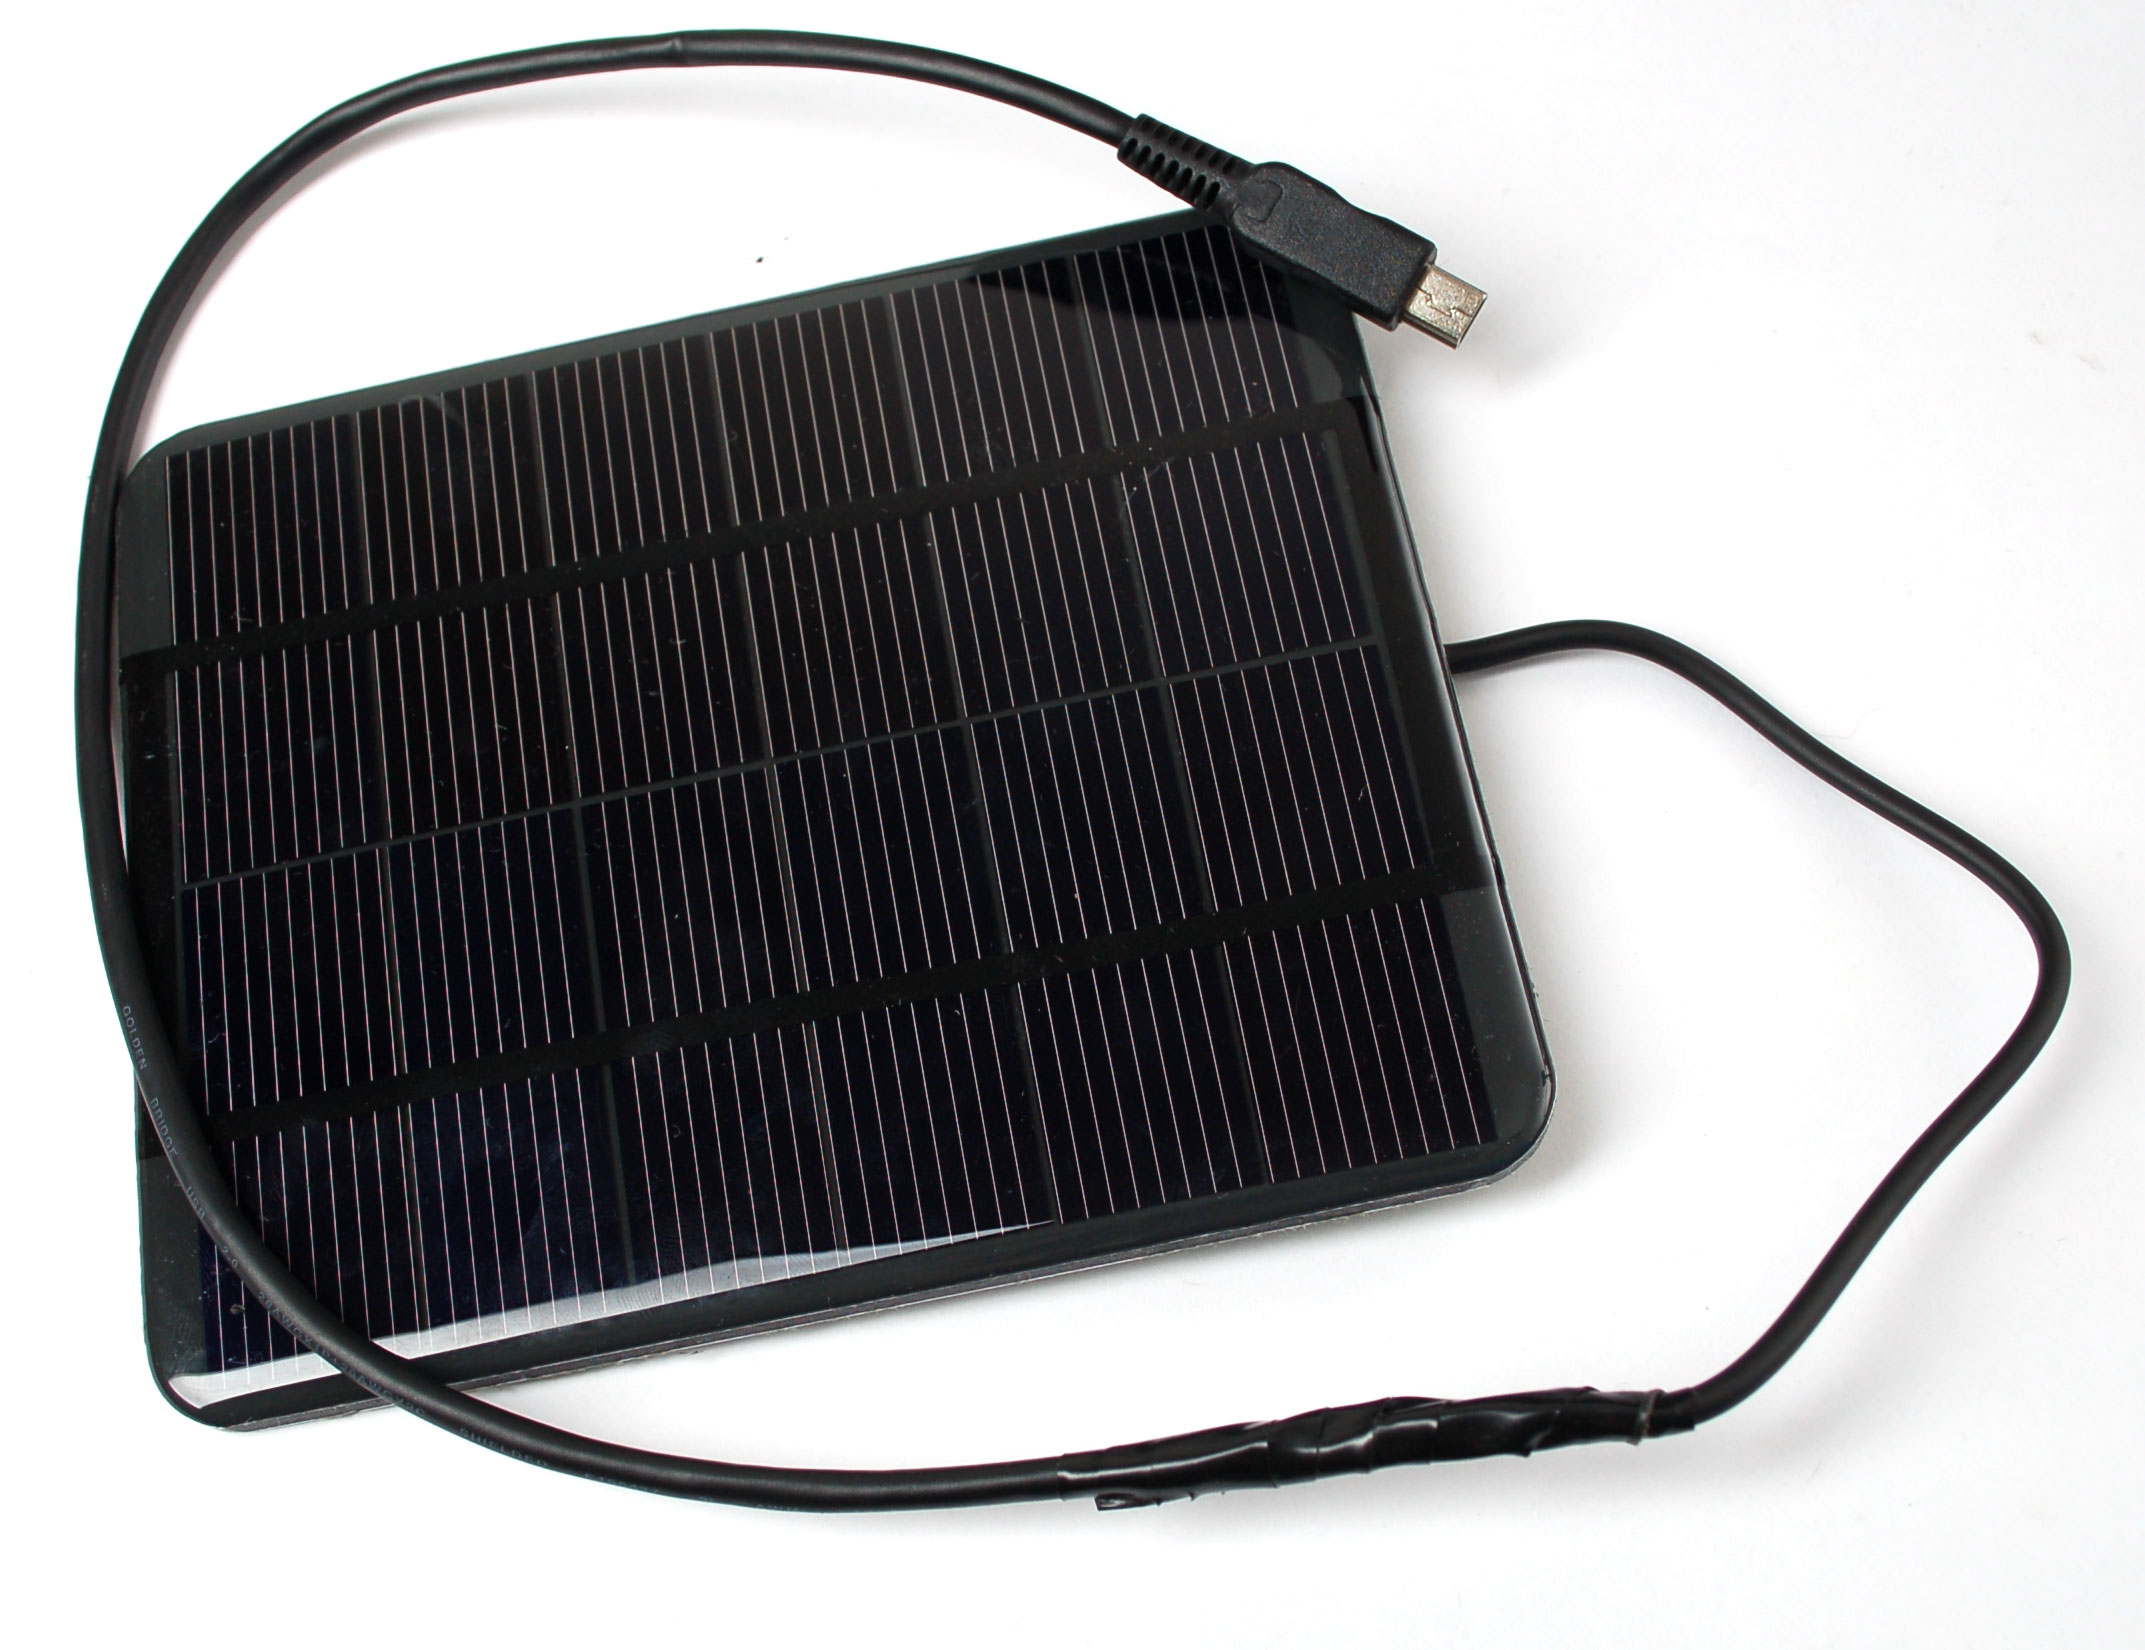
Panels often come with bare wires or perhaps the wrong connector, so they'll have to be re-spliced. Here we adapt it to a mini-USB connector so that it can connect to our basic lithium polymer charger.
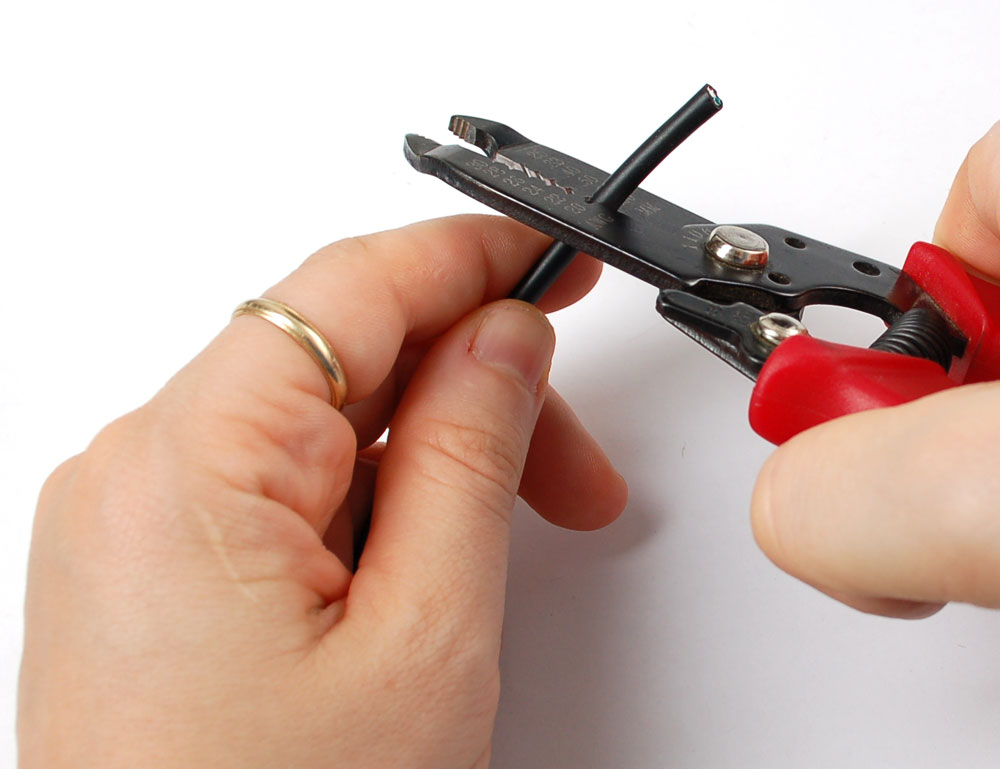
Cut off whatever connector is on
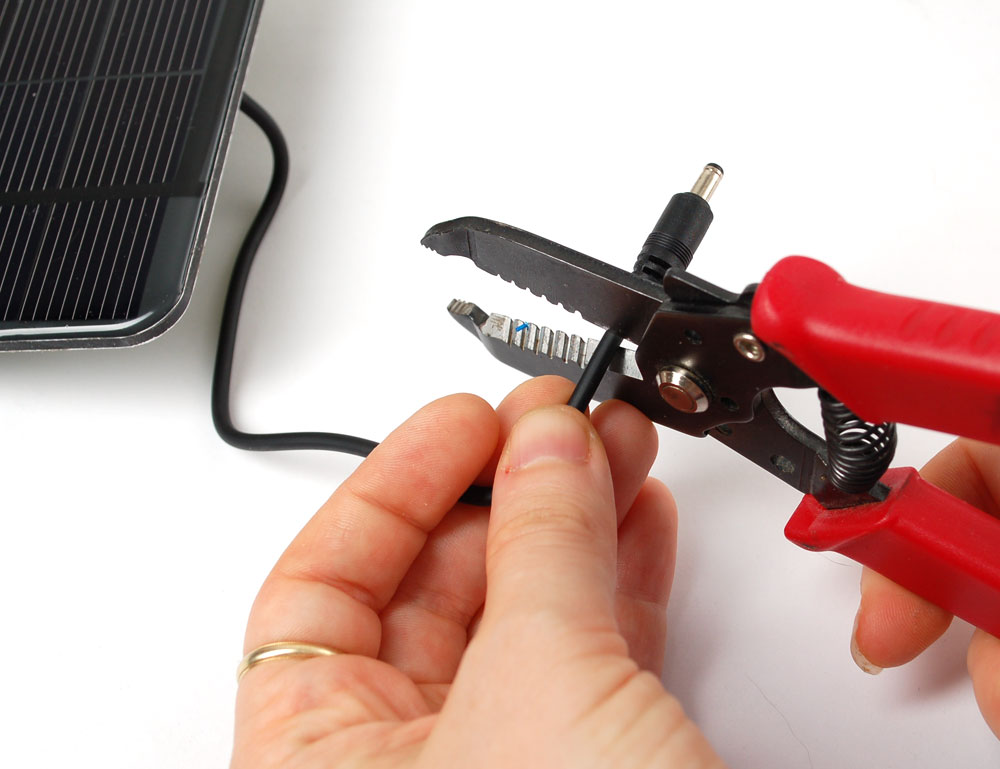
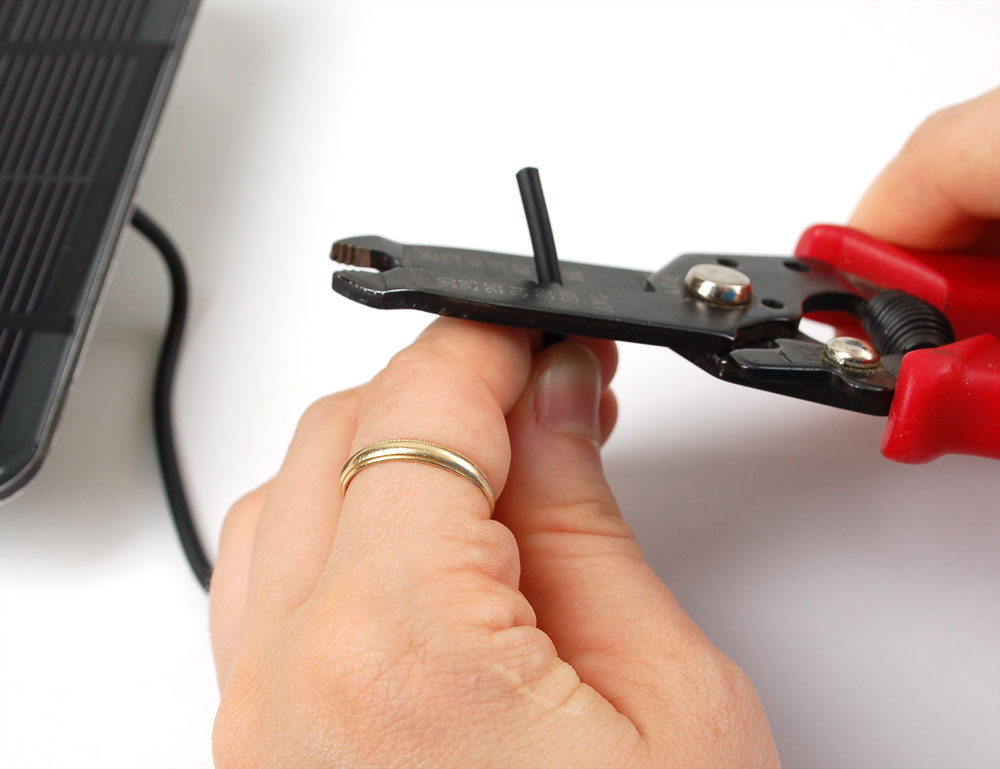
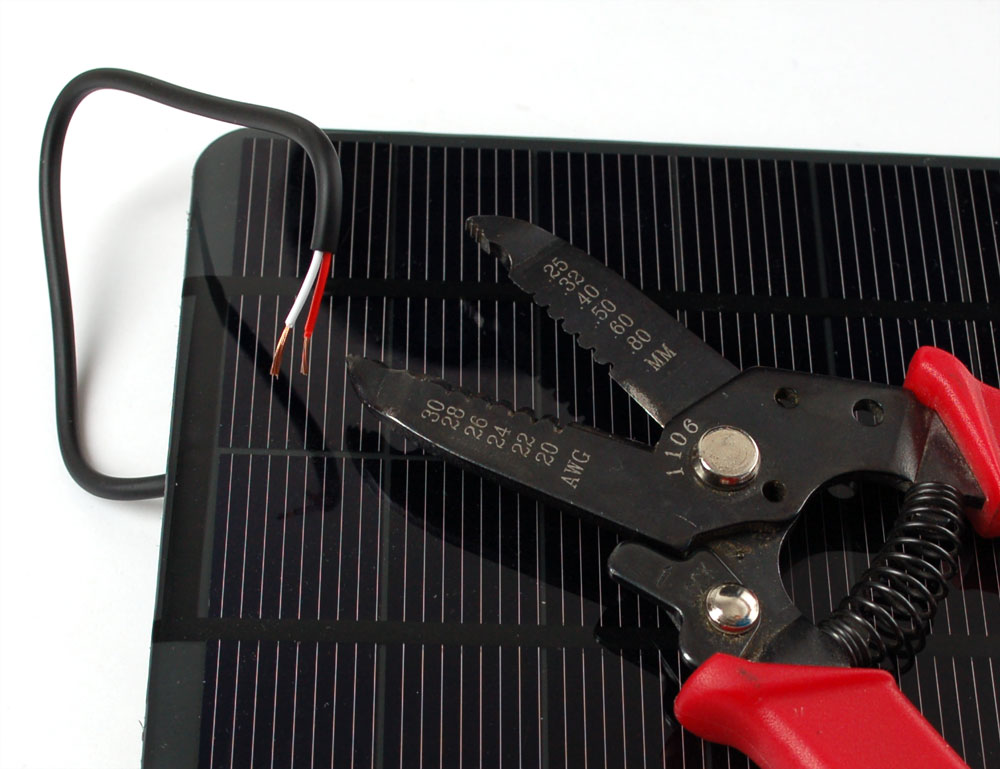
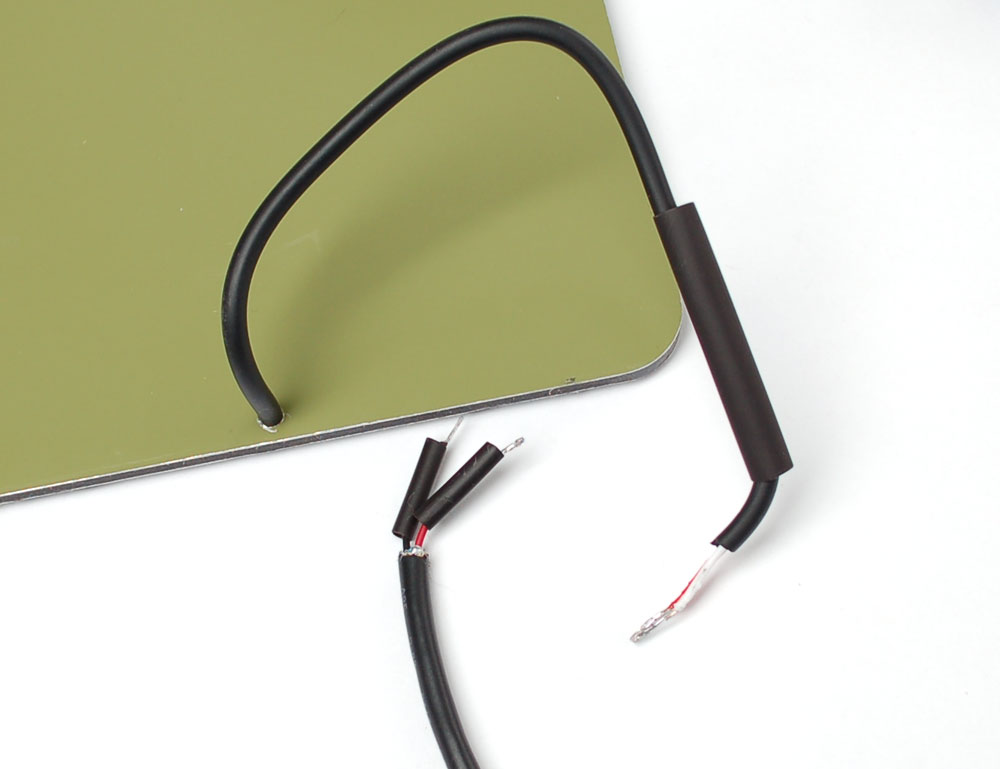
Gently remove the outer casing without nipping the inner wires
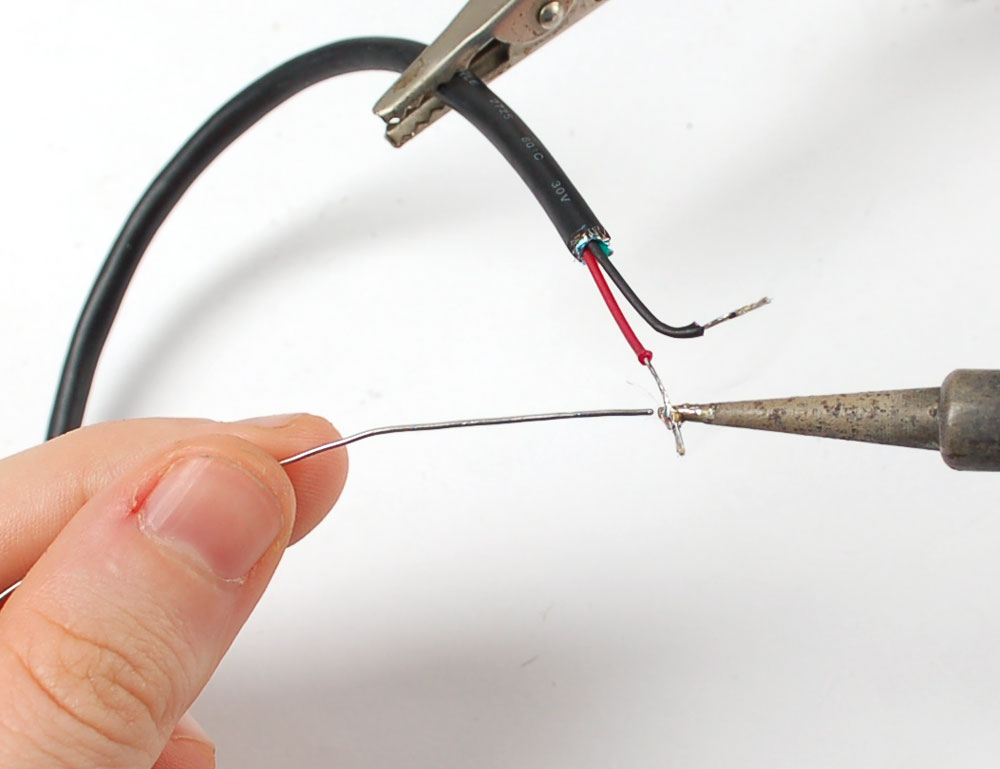
Strip and tin the inner wires
Any USB cable with a mini-B connector at the end will do
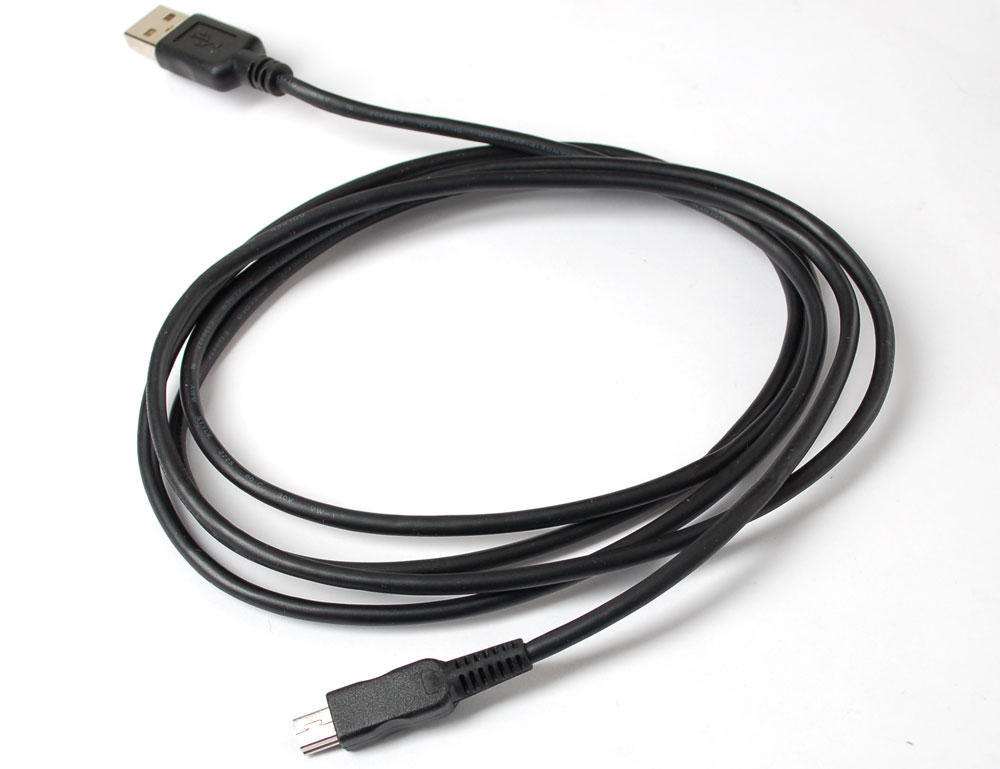
Figure out how long you want your cable to be, then cut off and save the miniB end

Just like the solar panel, gently remove the outer sheath
USB cables will often have a protective EMI sheath of aluminum strip and ground wire
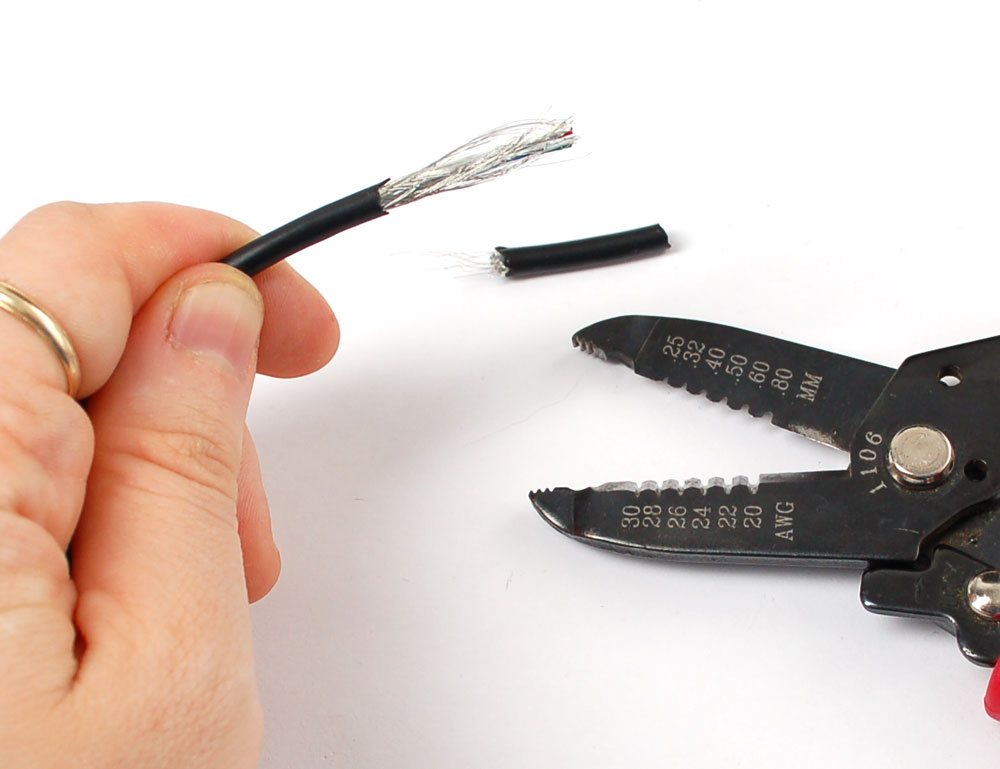
Pull these away to expose the data and power lines
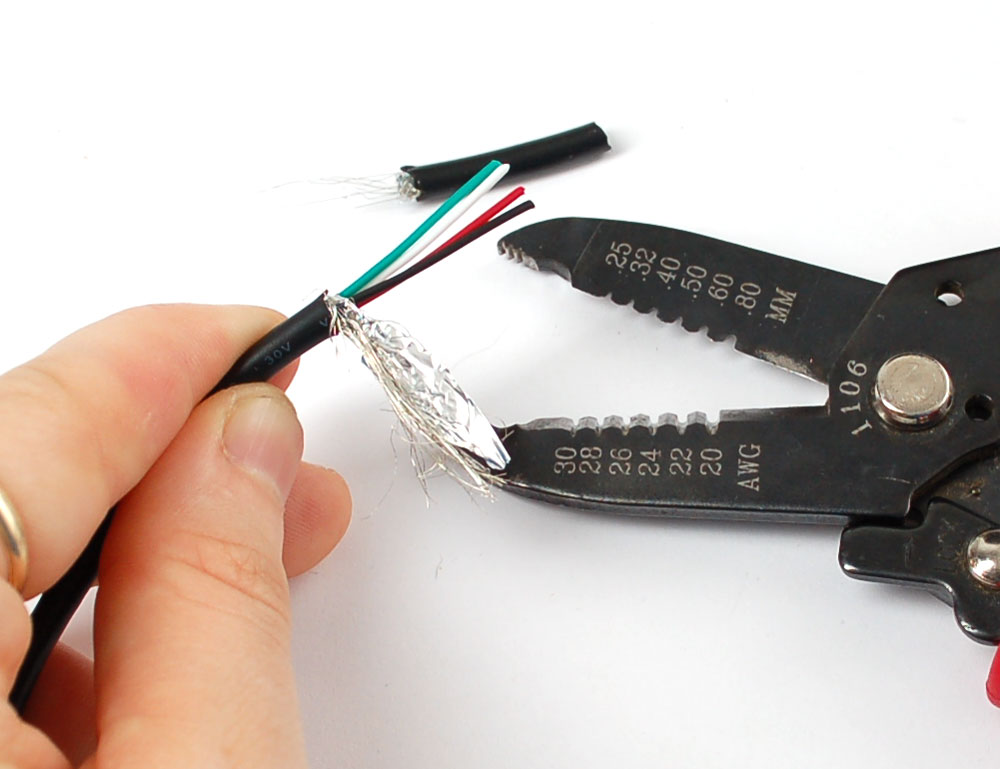
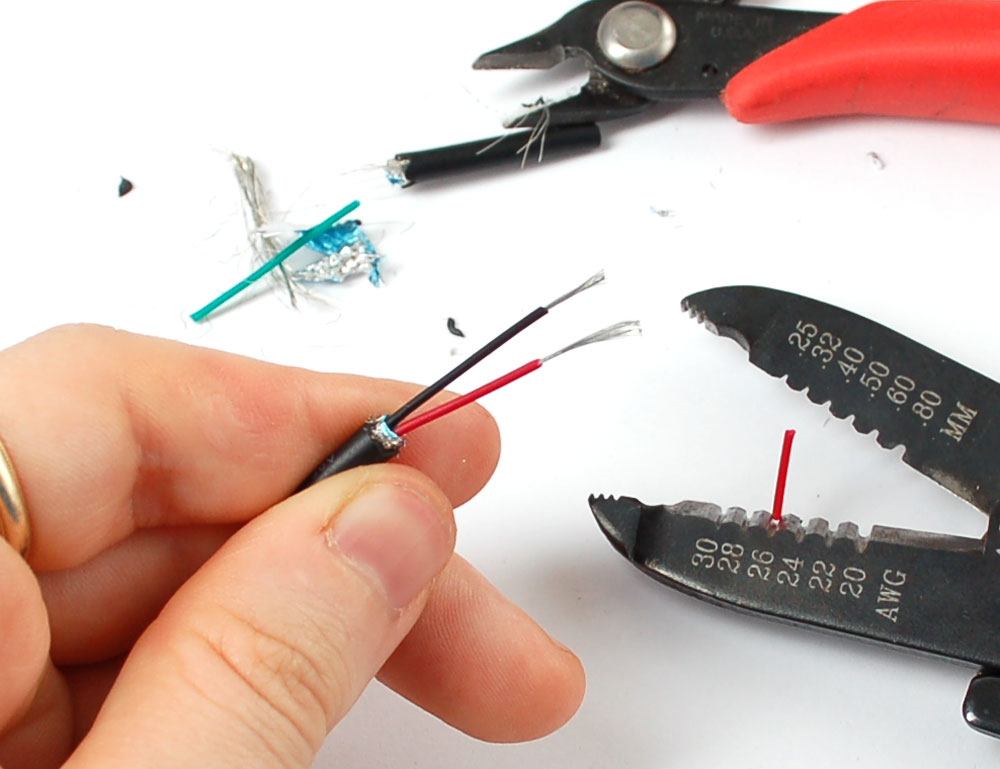
Cut away the outer layer and cut the two data lines - green and white. Then strip and tin the red and black wires
To protect the splice, we'll use two sets of heatshrink. Two smaller pieces for the power wires and one larger for the whole thing. (I actually cut the bigger heatshrink too short, make sure to add an extra inch - its easy to remove excess shrink but impossible to add more!)
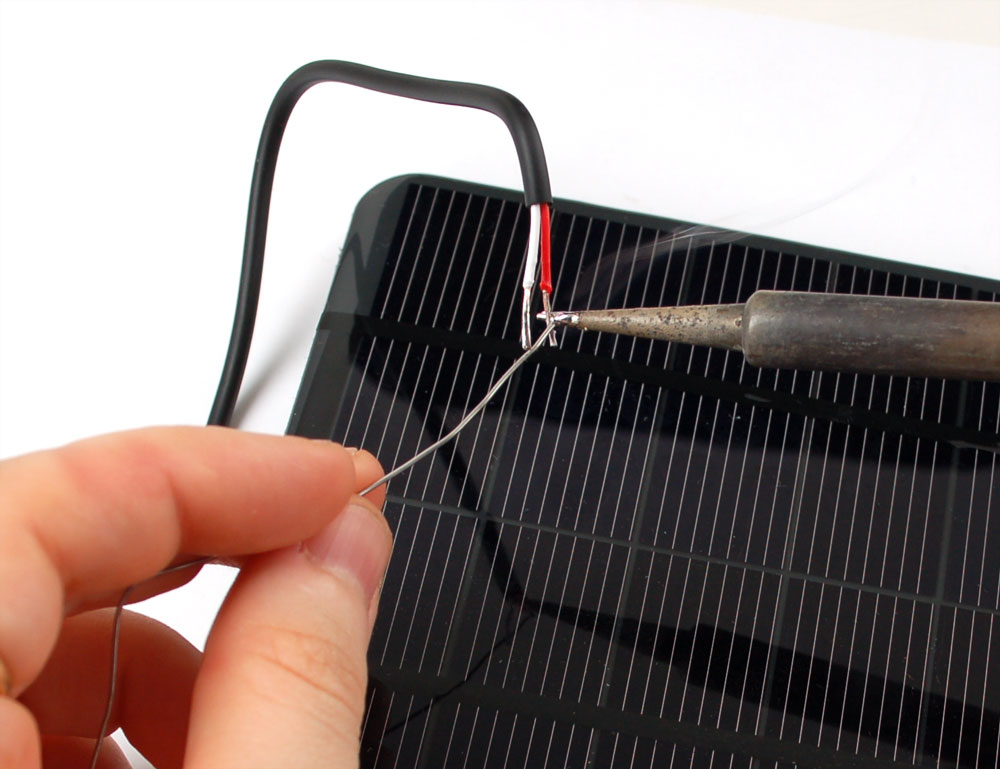
Keeping the smaller heatshrink away from the soldering iron so it doesnt shrink prematurely, solder red to red (positive), and black to white (ground)
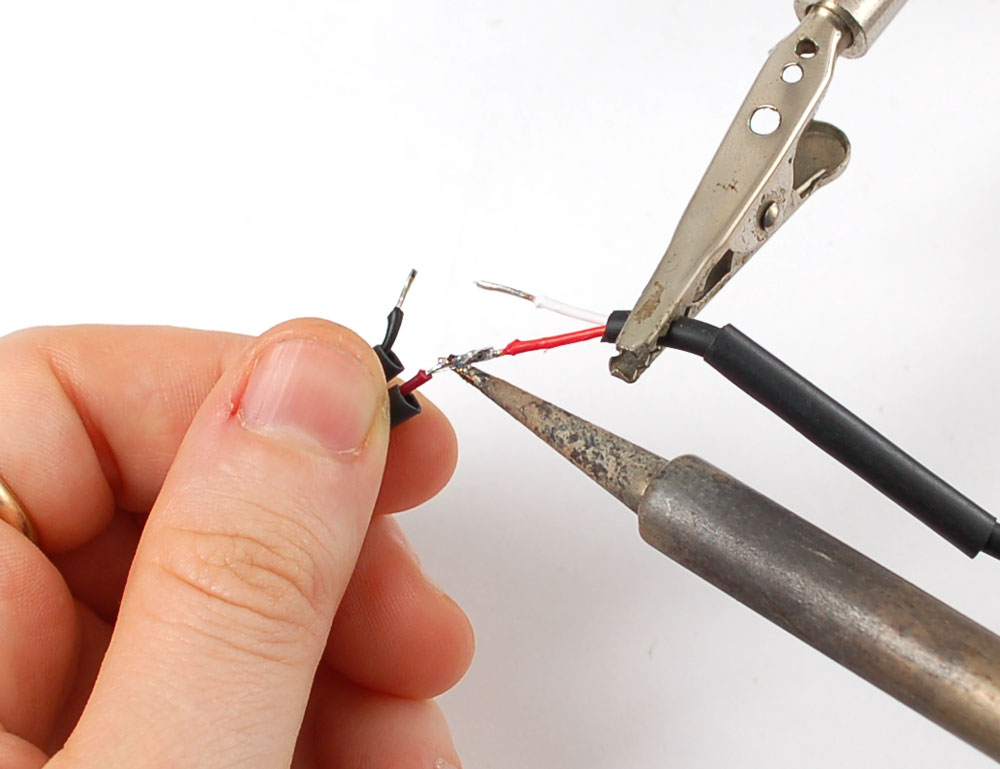
Once soldered, slip the smaller pieces over the joints and shrink them using a heat gun, hair dryer, hot air station, or similar
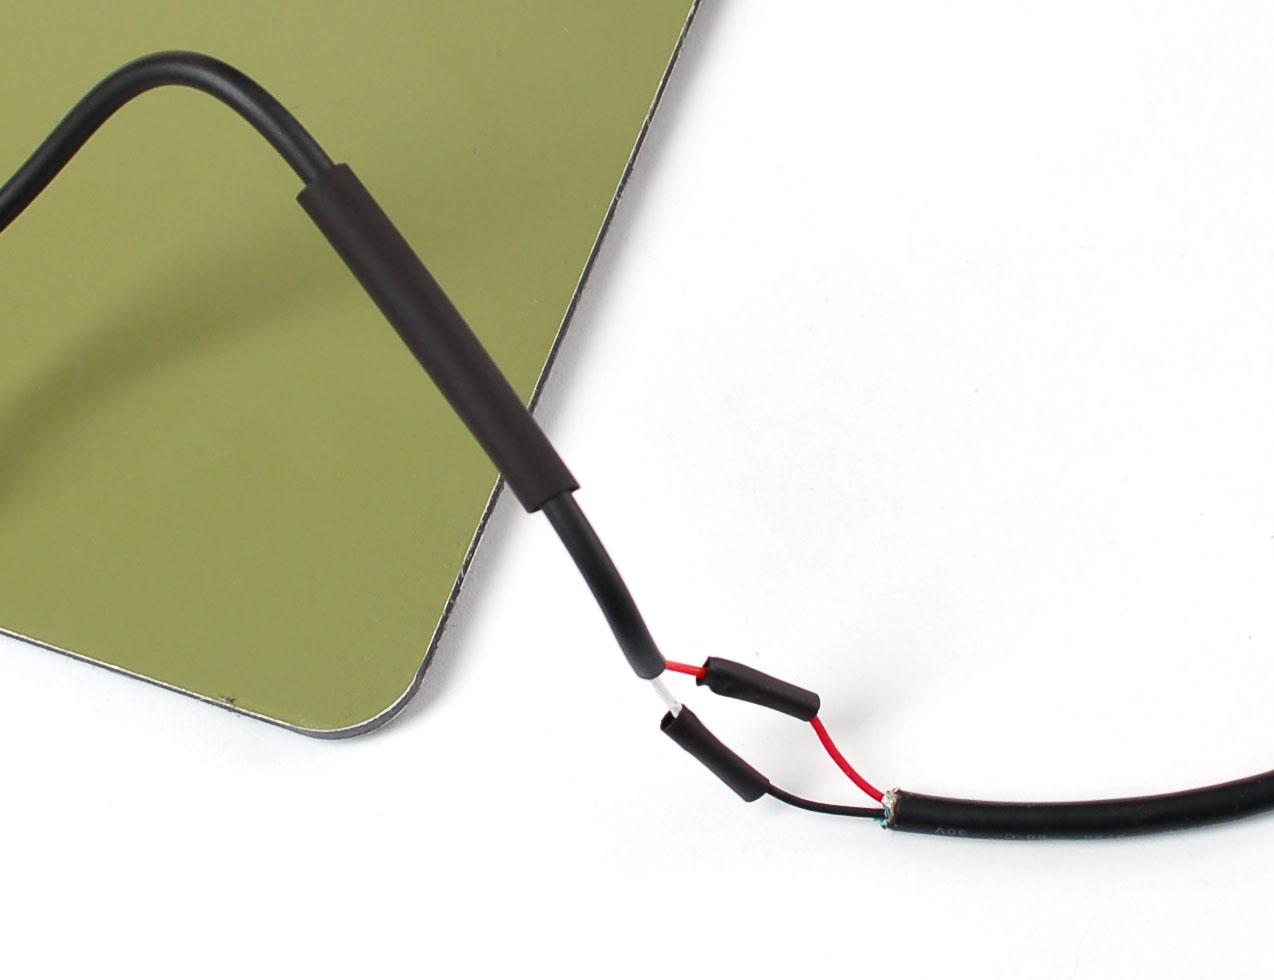
Then slip the larger piece over everything and heat-shrink it too!
For extra security I wrapped it up with electrical tape as well!
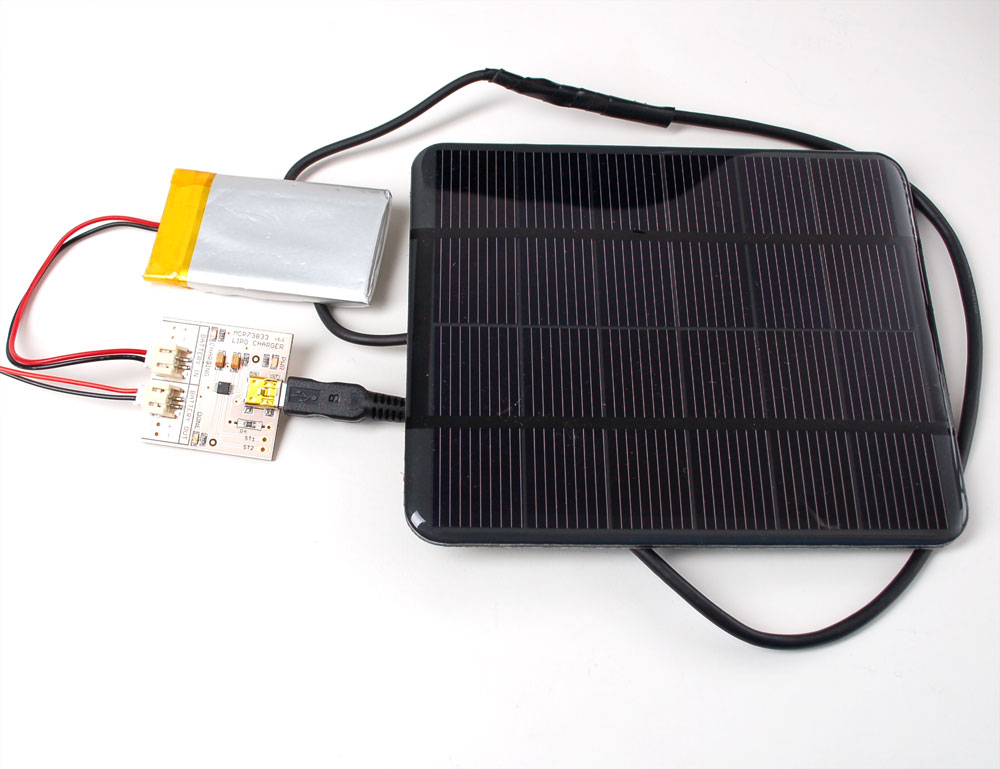
Simply connect the mini-USB cable into the jack and the battery to one side of the output, put the panel under a really bright light or in the sun and look for the Power and Charging LEDs to light!The other connection (JST output) can go to your electronics project.