Table of Contents
Introduction
The BMP085 is a basic sensor that is designed specifically for measuring barometric pressure (it also does temperature measurement on the side to help). It's one of the few sensors that does this measurement, and its fairly low cost so you'll see it used a lot. You may be wondering why someone would want to measure atmospheric pressure, but its actually really useful for two things. One is to measure altitude. As we travel from below sea level to a high mountain, the air pressure decreases. That means that if we measure the pressure we can determine our altitude - handy when we don't want the expense or size of a GPS unit. Secondly, atmospheric pressure can be used as a predictor of weather which is why weathercasters often talk about "pressure systems"
Specifications!
- Pressure sensing range: 300-1100 hPa (9000m to -500m above sea level)
- Up to 0.03hPa / 0.25m resolution
- -40 to +85°C operational range, +-2°C temperature accuracy
- 2-pin i2c interface on chip
- 3.3V power and logic level only
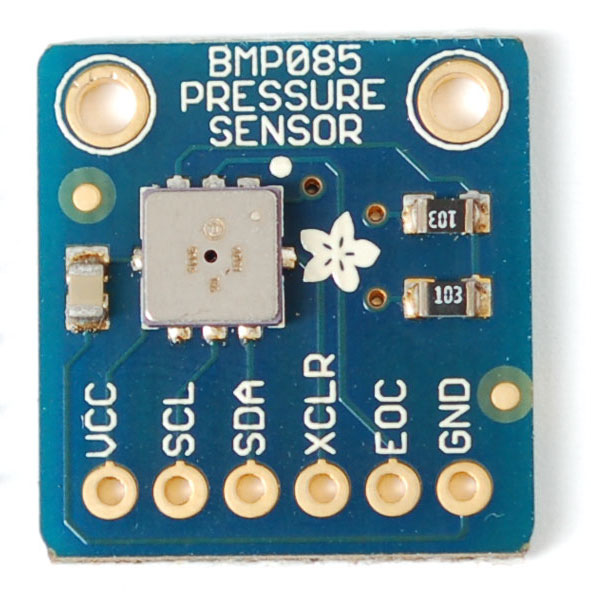
You can pick up a BMP085 breakout board from the Adafruit shop!
Wiring
Since the BMP085 is a i2c sensor, its very easy to wire up. We'll be using an Arduino as an example but any microcontroller with i2c can be used. To start using with a solderless breadboard, we need to solder the header pins onto the breakout board.
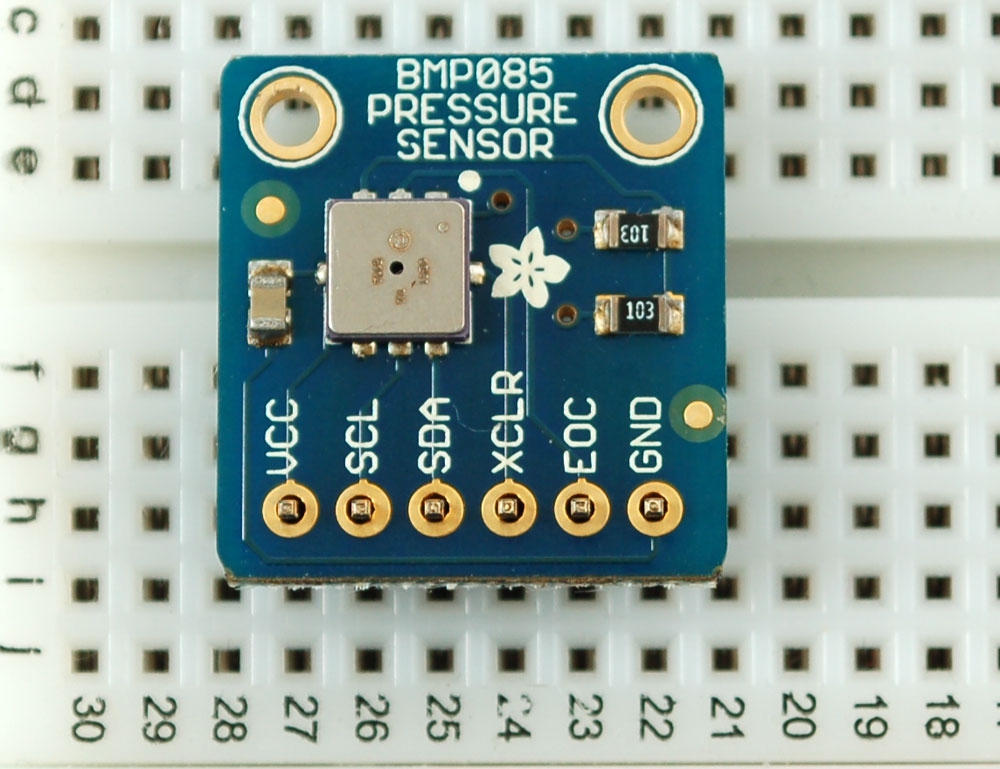
We suggest plugging the header into a breadboard so the long pins are in the breadboard, and then laying the BMP085 breakout board on top
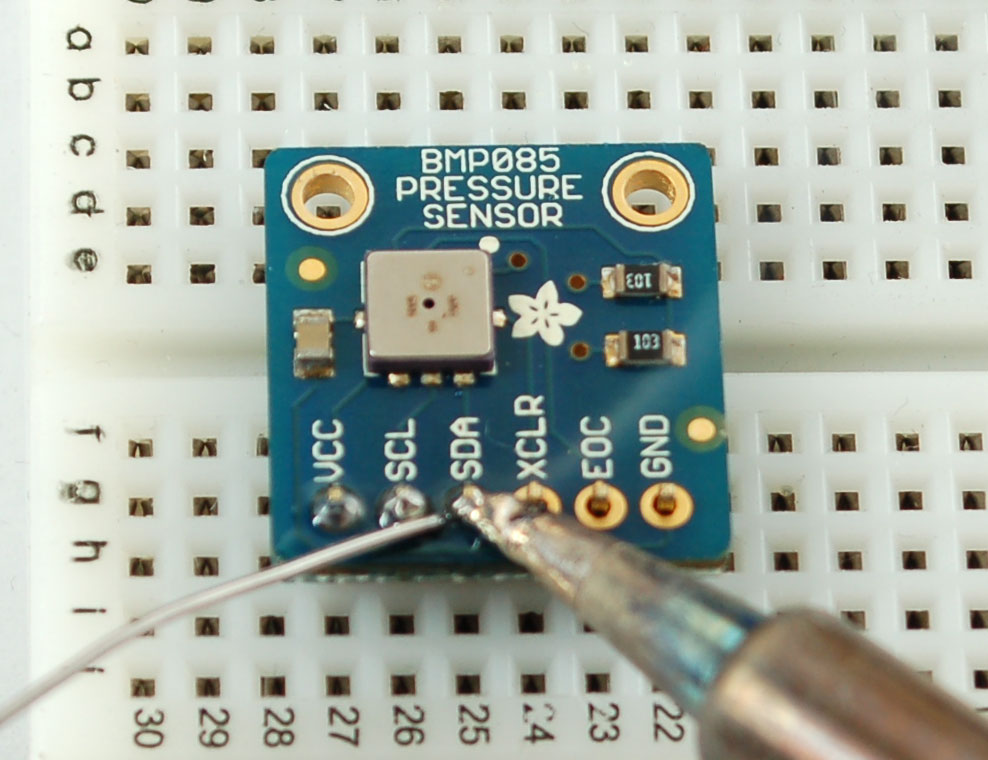
Then solder all the pins!
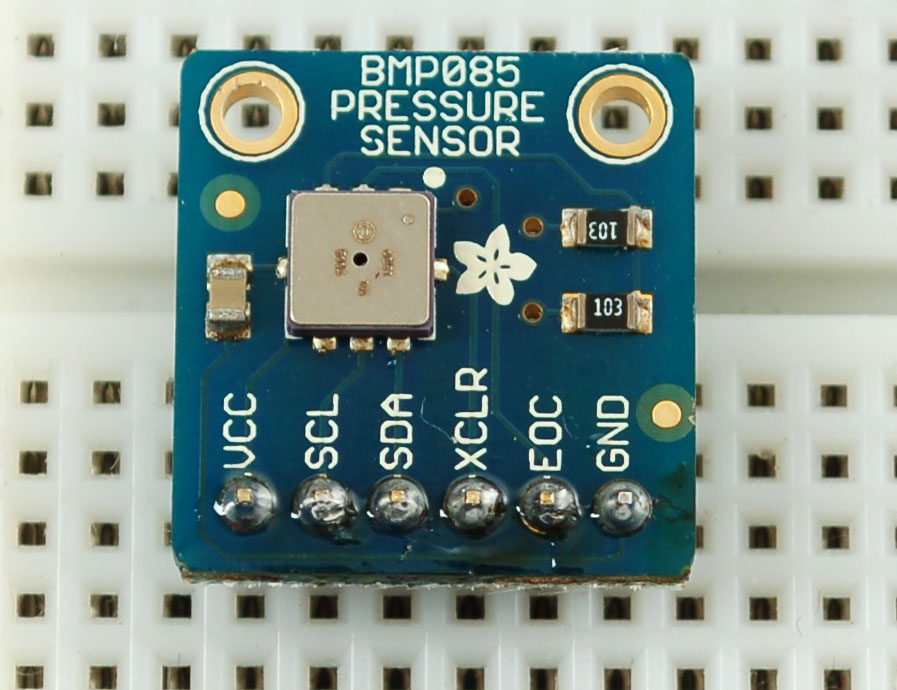
That's it! Now we can wire the board up to the microcontroller
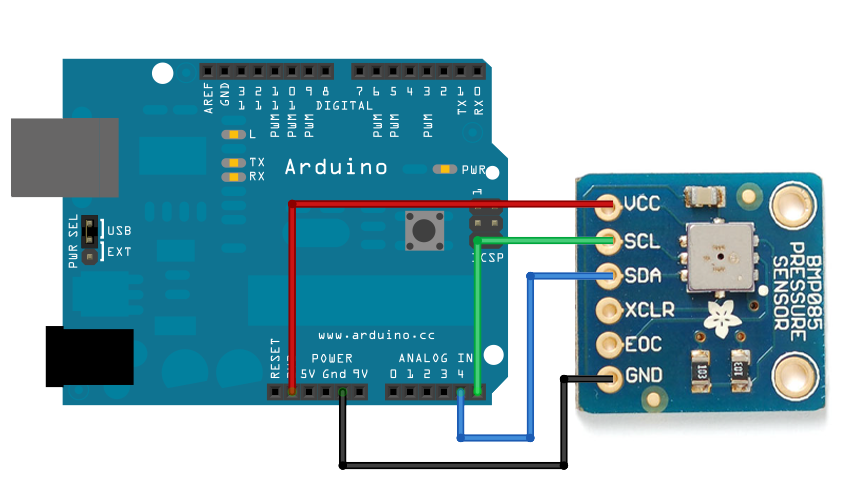
Connect the VCC pin to a 3.3V power source. The sensor cannot be used with anything higher than 3.3V so don't use a 5V supply! Connect GND to the ground pin.
Connect the i2c SCL clock pin to your i2c clock pin. On the classic Arduino Uno/Duemilanove/Diecimila/etc this is Analog pin #5
Connect the i2c SDA data pin to your i2c data pin. On the classic Arduino Uno/Duemilanove/Diecimila/etc this is Analog pin #4
Unfortunately, the i2c lines on most microcontrollers are fixed so you're going to have to stick with those pins.
You may be wondering, how is it OK to connect a 3.3V chip like the BMP085 to 5.0V data pins like the Arduino? Isn't that bad? Well, in this specific case its OK. I2c uses pullup lines to the 3.3V power pin, so the data is actually being sent at 3.3V. As long as all the sensors/device on the i2c bus are running on 3.3V power, we're fine.
However, don't use a 5.0v powered i2c device (like the DS1307) at the same time as a 3.3V device like the BMP085!
You don't need to connect the XCLR (reset) or EOC (end-of-conversion) pins. If you need to speed up your conversion time, you can use the EOC as a indicator - in our code we just hang out and wait the maximum time possible.
Arduino Library & Example Code
To use this sensor and calculate the altitude and barometric pressure, there's a lot of very hairy and unpleasant math. You can check out the math in the datasheet but really, its not intuitive or educational - its just how the sensor works. So we took care of all the icky math and wrapped it up into a nice Arduino library. You can download the library from github
To download the library click the DOWNLOADS button in the top right corner, rename the uncompressed folder BMP085. Check that the BMP085 folder contains BMP085.cpp and BMP085.h
Place the BMP085 library folder your <arduinosketchfolder>/libraries/ folder. You may need to create the libraries subfolder if its your first library. Restart the IDE.
Now you can run this first example sketch
#include <Wire.h>
#include "BMP085.h"

BMP085 bmp;

void setup() {
  Serial.begin(9600);
  bmp.begin();
}

void loop() {
    Serial.print("Temperature = ");
    Serial.print(bmp.readTemperature());
    Serial.println(" *C");

    Serial.print("Pressure = ");
    Serial.print(bmp.readPressure());
    Serial.println(" Pa");

    Serial.println();
    delay(500);
}
Then open up the serial monitor at 9600 baud. The sketch will continuously print out the temperature in °C and pressure in Pa (Pascals). You can test that the sensor is measuring variations in temperature and pressure by placing your fingertip over the open port hole in the top of the sensor. The temperature and pressure will increase as you can see here:
Altitude measurement
Since we know that pressure drops as we gain altitude (that's why air is so thin on mountain-tops) we can compute the current altitude knowing the pressure and temperature. Again, there's a bit of hairy math involved, you can read about the calculations on wikipedia (where this graph is from)
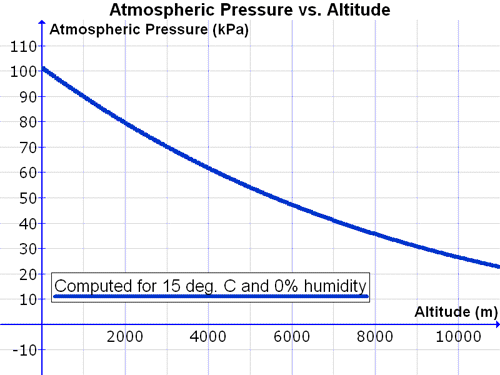
With the Arduino library, we take care of that for you! Simply run this sketch which will return the current altitude based on the pressure.
#include <Wire.h>
#include "BMP085.h"

BMP085 bmp;

void setup() {
  Serial.begin(9600);
  bmp.begin();
}

void loop() {
    Serial.print("Temperature = ");
    Serial.print(bmp.readTemperature());
    Serial.println(" *C");

    Serial.print("Pressure = ");
    Serial.print(bmp.readPressure());
    Serial.println(" Pa");

    // Calculate altitude assuming 'standard' barometric
    // pressure of 1013.25 millibar = 101325 Pascal
    Serial.print("Altitude = ");
    Serial.print(bmp.readAltitude());
    Serial.println(" meters");

    Serial.println();
    delay(500);
}
Run the sketch to see the calculated altitude
For example, according to the sensor we are 21.5m below sea level. Only problem is, I know for a fact that our current location is not below sea level! So what's wrong with the sensor? Turns out the sensor is just fine. The problem is that the pressure at sea level changes with the weather. So we need to 'normalize' the sensor, and let it know what the sea-level pressure is. You can look up the current sea level pressure on any weather site
Unfortunately there are half-dozen different units of pressure. here we see it in inches, that's technically "Mercury Inches" or "Hg Inches We need it in Pascals, so we'll convert it!
OK so that's 101,964 Pascals. Open up the Examples→BMP085test example from the Arduino IDE menubar and edit the line where you pass in the 'corrected' altitude
Now it will print out the correct altitude! 30 meters which is a lot better
Downloads!
To download click the DOWNLOADS button in the top right corner, rename the uncompressed folder Adafruit_BMP085. Check that the Adafruit_BMP085 folder contains Adafruit_BMP085.cpp and Adafruit_BMP085.h
Place the Adafruit_BMP085 library folder your <arduinosketchfolder>/libraries/ folder. You may need to create the libraries subfolder if its your first library. Restart the IDE.
