Table of Contents
Testing parts!
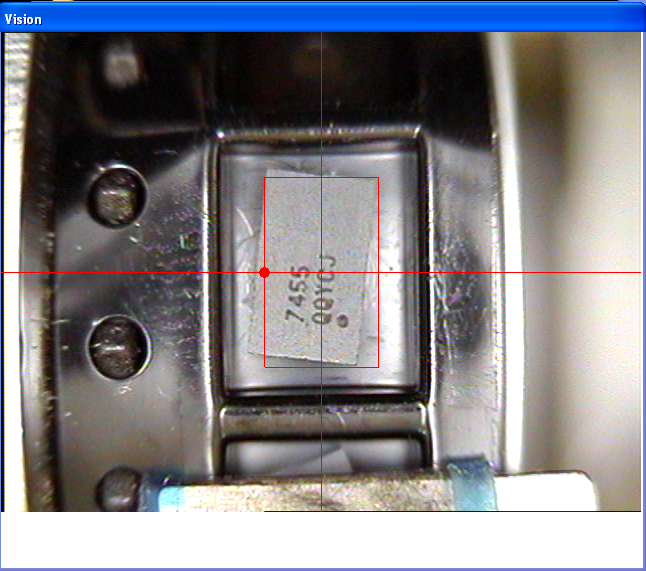
When making custom parts, getting the bottom vision test perfect before assembly will save you a lot of grief! Lets test our Accelerometer (14-LGA) that we defined.
Pick up the part
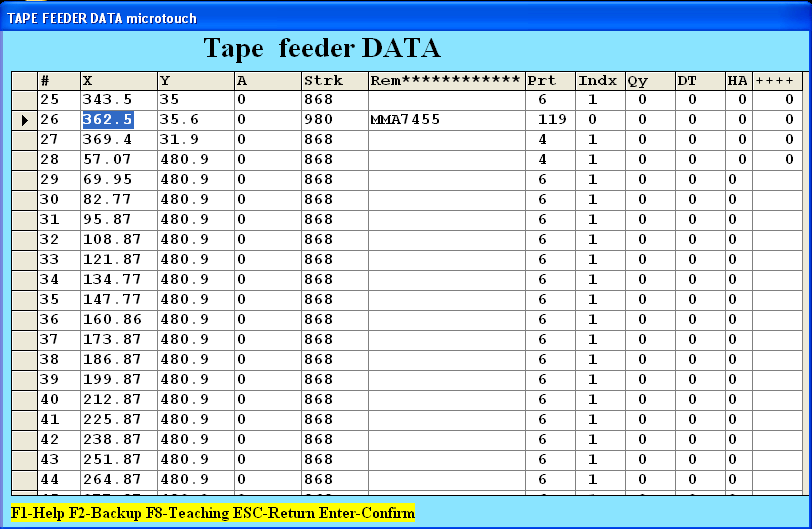
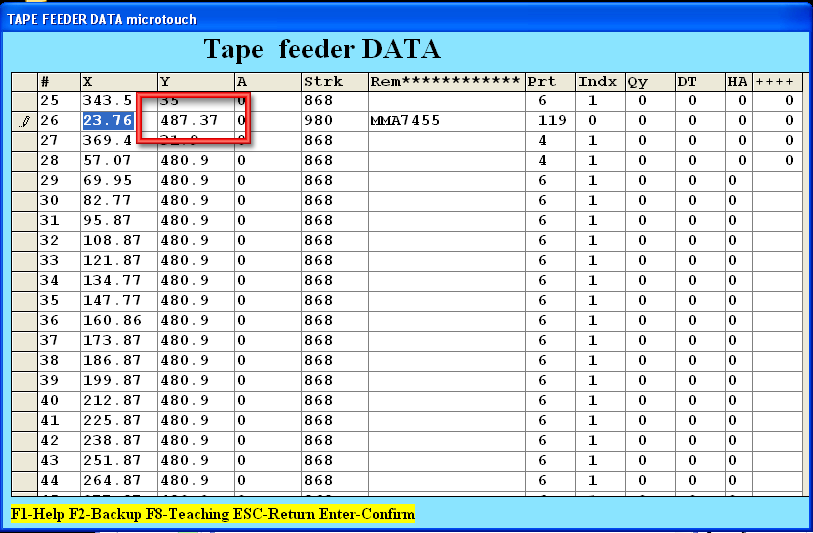
First we go to the Tape Feeder table and type in 2 (edit) and 2 (change data). Then down-arrow to get to the part we want to test Make a note of the part number (in this case its 119)
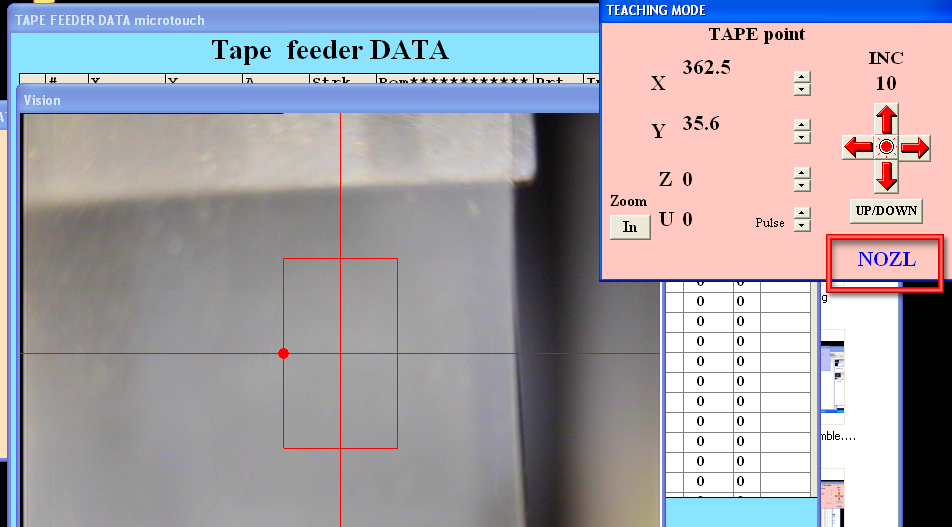
Now press F8 to get into training mode
We want to pick up the part so we have to get into Nozzle mode. Press 9 (not F9, just the number 9)
Now we will pick up the part - you have to have the stroke already set properly for this by the way. Check the instructions for doing that!
Press R to bring the nozzle down to the part. Then press V to turn on the vacuum. You should hear the vacuum kick in. Now press R again to bring the part up. Check the nozzle to verify you've got the part picked up!
Begin the test
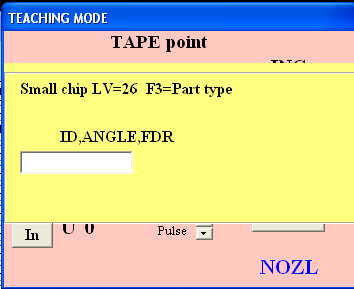
Now we're ready to test. Press Shift P to bring up the testing window
NOTE if you are using QFPs that are large enough to require LunaVis 27 not 26 use just P not Shift P. If you are using parts that will be defined with the 'flying vision' (not bottom vision) press F
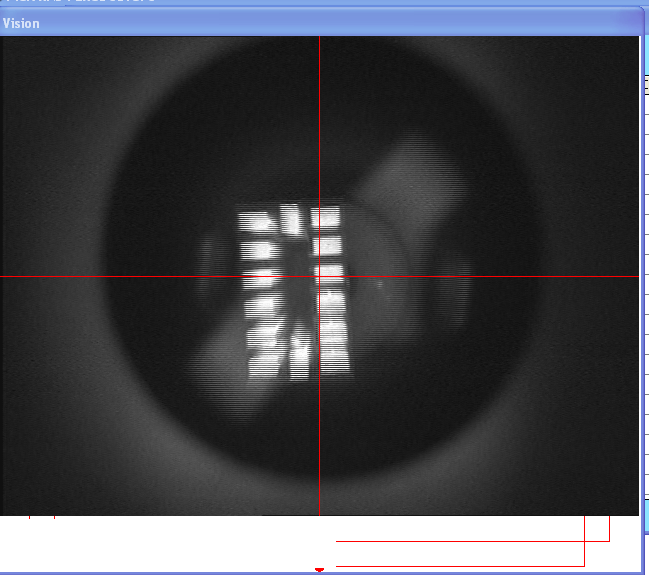
You can now enter in the part# you want to test. Remember that this one is 119. There are two kinds of tests, one is continuous and one stops after a few tries. To do the continuous one type in 119,0, (note the comma at the end). To do the one-shot test, type in 119,0 (note no comma). With the continuous test, you can mess with the light levels but in the end you should make sure it works with the one-shot
Performing the closed loop vision test
Fixing problems
If you aren't getting anything from the machine vision, you can try a few things. First, press F3 to get into the Parts Definition table. (You may need to press Escape or Shift-P or press any Stop button before F3 - verify!)
You can try changing the vision type. For example, if you're using LV 26 try 126 or 226 - LV 126 makes the lighting a little darker, LV 226 makes the lighting a little brighter.
Once you've changed around the part definition, you can press Return on the new values (to save them into the datasheet) and Escape to get back to the vision training mode. Then do the Shift-P again with the part #
Returning the part
We're not 100% sure this is the best way to finish up but once you've got your vision tested you'll still have this part hanging out in the nozzle.
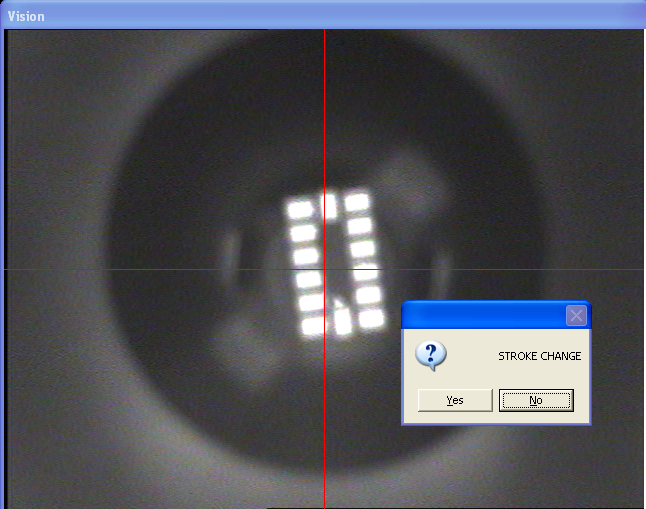
Once you're happy with the vision (or so annoyed you have to stop). Press Escape, you'll get a Stroke Change? window. Press NO
This will bring you back to the part feeder spreadsheet. But the location is wrong. Now don't press return, immediately press Escape. This will make sure the location isn't saved
Once its reverted to the old values, press F8
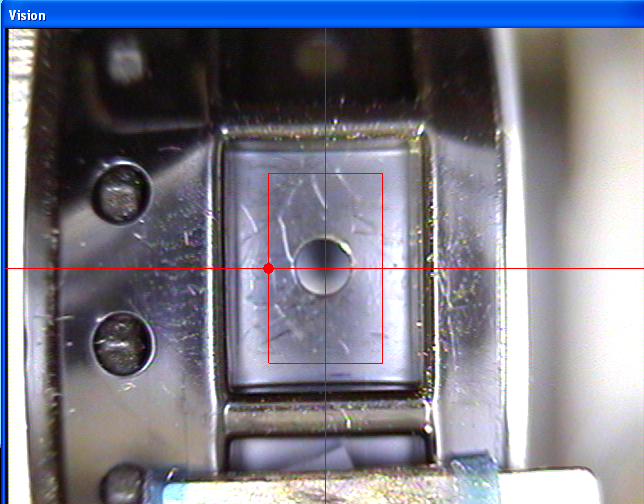
You'll see the empty pocket. To replace the part, press 9 (nozzle mode) R (drop nozzle) V (turn off vacuum) R (raise nozzle) Press Escape and make sure you don't save the stroke or location or anything.

