This is an old revision of the document!
Assembly
The USB boarduino is almost completely assembled. Finishing it up should only take a few minutes
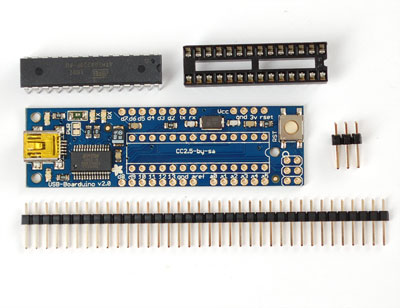
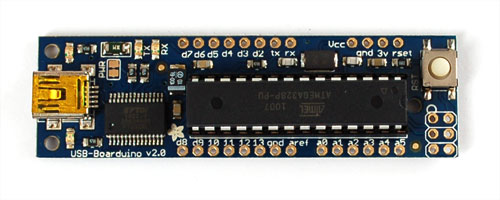
Check the parts in the bag, you should have the tested USB Boarduino board, a stick of 0.1" header, a 2x3 ISP header, a 28pin socket and a preprogrammed ATmega328p
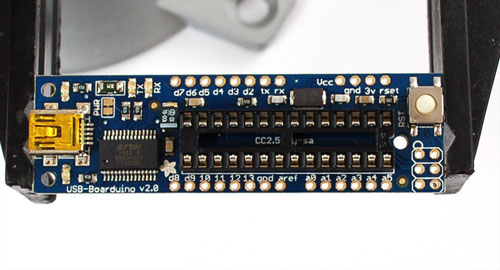
If you want to socket the microcontroller (we suggest it) Place the socket so that the U notch matches the U printed in the silkscreen. If you don't think you'll ever need to replace the microcontroller and you want a slimmer package, skip this stip.
If you have sharp nails you can bend over two of the socket pins to keep them in place
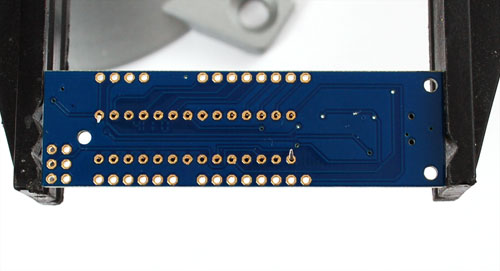
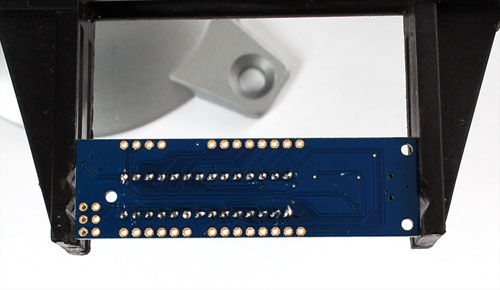
Solder all 28 pins well.
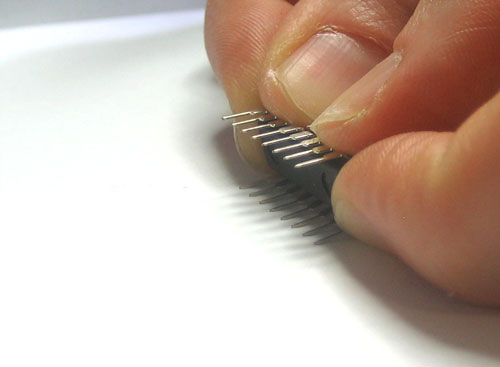
Take the microcontroller out of the foam and carefully bend all the pins so they are straight. We like to grip the chip by the edges and press it against a tabletop.
Once the pins are straight, insert the chip by matching the U notch in the chip with the U notch in the socket

